Starting a new motorcycle project can be an exciting challenge, especially when it involves turning a brand new Velocity Cargo 150cc into a custom cafe racer. After not finding a good secondhand option, they decided to go with a new bike, making the learning process a bit smoother and avoiding possible hidden issues with used motorcycles. This choice was also influenced by past experiences working with bikes in other countries and wanting to avoid higher local prices for parts and accessories.
The plan for the project includes swapping out several parts, updating the bike’s look, and using tools and accessories gathered from abroad. With a dedicated workspace and plenty of enthusiasm, they are getting ready to disassemble, upgrade, and transform the 150cc bike into something unique. The process starts now, with each step prepared and the workshop set up for action.
Key Takeaways
- The bike was bought new to avoid used-bike issues.
- Custom upgrades and parts were sourced affordably from abroad.
- The project is set in a well-equipped personal workshop.
Why I Picked the Velocity Cargo 150cc
Deciding on a New Motorcycle Instead of Used
He wanted a bike he could trust for his first custom build. After searching for a used one online with no luck, he realized that a brand new Velocity Cargo 150cc was the best fit. More often, old bikes have hidden problems and take extra time and money to fix. Since he is new to working on engines, starting with a new bike seemed easier.
He thought about getting a secondhand bike for a later project to learn more about taking engines apart. But for now, picking a new motorcycle would help him avoid major surprises and let him focus on his main goal.
Quick Comparison Table
| Option | Pros | Cons |
|---|---|---|
| New Bike | No hidden issues, warranty | Slightly higher price |
| Used Bike | Cheaper, can learn repairs | Unknown problems, more delays |
Personal Motivation and Building Dreams
His love for café racers began years ago with his first bike in Thailand, a Stallion 150cc café racer. He had it customized, and that experience made him want to build his own. Now, five years later, he wants to create a unique motorcycle from scratch.
He gathered special tools and parts, some brought from Thailand because prices were better there. His dad even built a workshop for him, making it the perfect place to work. The new Velocity Cargo 150cc is the blank canvas he needs for his dream project.
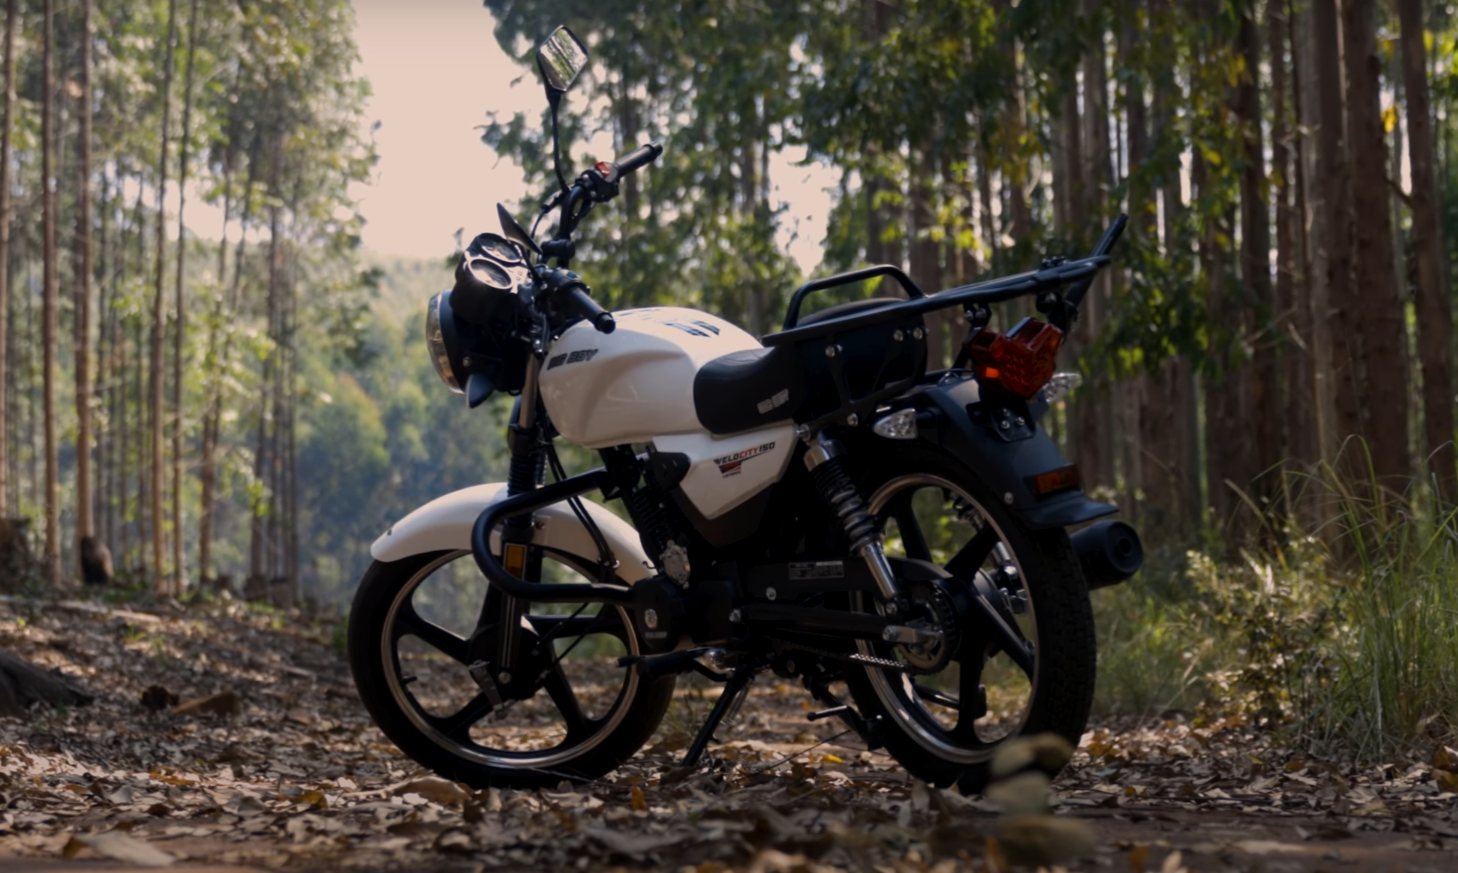
First Thoughts on the Velocity Cargo 150cc
Power, Engine Details, and Specifications
This bike uses a four-stroke, air-cooled 150cc engine. It provides 7.5 kW at 8,500 RPM. The power might not be high, but it’s enough for getting around town, running errands, and handling city traffic.
Top speed depends on the rider’s weight, with most people expecting to reach around 100 km/h to 110 km/h. The engine is brand new, so it still feels a bit stiff and needs time to break in.
| Engine Type | Power Output | Top Speed | Cooling |
|---|---|---|---|
| Four-stroke | 7.5 kW @ 8,500 RPM | 100-110 km/h | Air-cooled |
Gas Mileage and Daily Riding
The Velocity Cargo 150cc is fuel-efficient, using just 2.4 liters per 100 km. This makes it a smart pick for daily travel, like going to work or shopping. Riders can expect to save money on gas and spend less time filling up.
The affordable price for a new bike was another plus, compared to the expensive secondhand options. This makes it a practical choice for someone starting their first custom project.
Fuel Use Breakdown:
- 2.4 liters per 100 km
- Good for city use and short trips
- Saves money over time
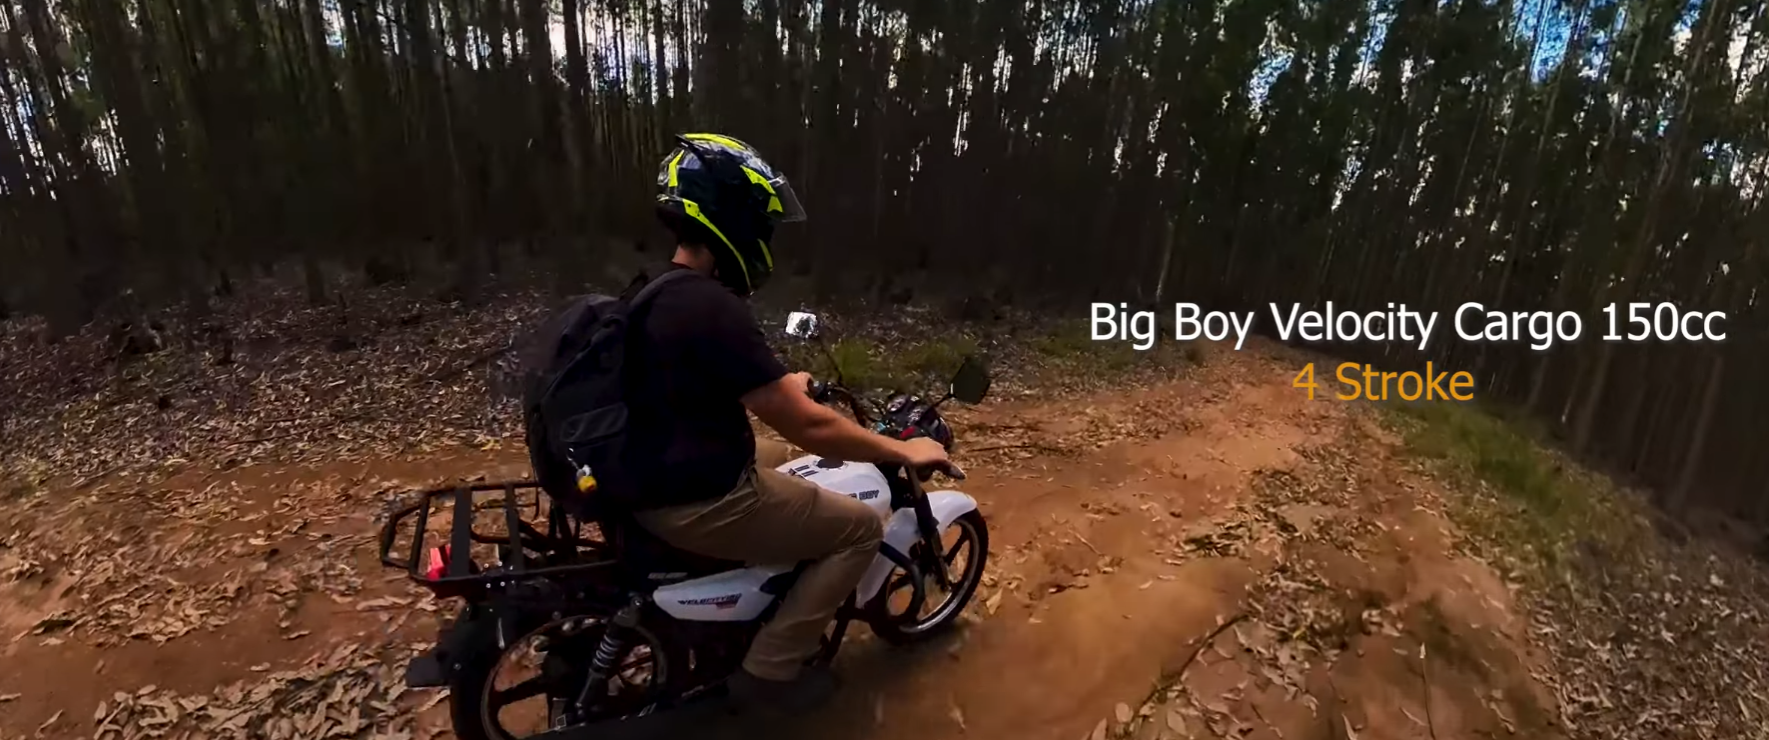
How It Feels On The Road
The bike is described as fun to ride, especially on quiet roads or curves. It’s easy to handle for new projects since it’s a small and simple motorcycle. Since everything is new, the ride feels a bit stiff at first, but it should get smoother with use.
The factory setup isn’t perfect for everyone, so there are plans to personalize it, from exhaust to mirrors. Riding the bike brings back good memories from earlier cafe racer builds, and there’s excitement about making it unique.
Noted Features:
- Comfortable for everyday trips
- Light and easy to control
- Ready for custom upgrades
Cafe Racer Project Steps
Equipment and Parts Ready
The workspace is set up with many of the tools needed. There is welding gear, a welding table, socket sets, and extra hand tools around. Most of the parts are stored in a single box, with nearly everything required for the build.
Parts and Accessories:
| Item | Details |
|---|---|
| Brake/Indicator Light | Wraps around the back, slim design |
| Handle Grips | Brown color, enough for several bikes |
| Exhaust Wrap | Olive green-brown shade chosen for this build |
| Slip-on Exhaust | SC Project brand, to replace the stock exhaust |
| Headlight | Thin, sleek style, modern look |
| Handlebar Indicators | LED, fit inside the handlebar |
| Speedometer | Compact, black, blue LEDs, all-in-one display |
| Mirrors | Small, round, aftermarket style |
The workspace was built with help from family and was filled with tools brought over from Thailand to save on costs. Most of the parts, like the stylish indicators and special grips, were brought from overseas because prices are much higher locally.
Paint, Style, and Look Choices
The main color theme for this build is a mix of olive green-brown and brown details. Brown handle grips and matching exhaust wrap are key parts of this theme. The goal is a sleek, classic cafe racer look.
Small, round mirrors and thin headlights are chosen to give a cleaner style. Blacked-out and slim pieces, like the speedometer and other controls, make the bike look neat and modern. Most plastic or bulky stock parts will be changed for smaller, custom ones to fit the cafe racer style.
Main Custom Upgrades for the Motorcycle
Updated Lights and Turn Signals
Upgrading the lighting setup makes the bike look sleeker. A slim headlight replaces the bulky factory one, giving a more classic appearance. New brake and turn signal lights, including a wrap-around rear combination, are added for a modern touch. Small indicators that slide into the handlebar ends replace the original large, orange signals.
Lighting Comparison Table
| Stock Lighting | Custom Upgrade |
|---|---|
| Bulky headlight | Slim, sleeker headlight |
| Large turn signals | Handlebar-end indicators |
| Basic brake light | Sleek wrap-around combination light |
New Hand Grips and Add-On Parts
The original hand grips are swapped for a set of brown, stylish grips that fit the custom look. Extra grips are kept as backups, just in case. These new grips are both comfortable and help tie together the design. Other small accessories may get added to make riding more enjoyable and the controls feel more responsive.
- Brown grips chosen for style
- Multiple pairs on hand for replacements
Custom Exhaust and Heat Wrap
The bike gets a new slip-on exhaust from SC Project, which is much shorter and more attractive than the stock version. The long original muffler is removed for a lighter, cleaner look. Exhaust wrap is used in an olive green-brown color, helping protect from heat and matching the new style.
Exhaust Customization Steps:
- Remove the stock exhaust.
- Add the SC Project slip-on.
- Wrap the pipes with colored heat tape.
Mirrors and Gauge Upgrades
Factory mirrors are replaced with small, round aftermarket ones for a neat appearance. These mirrors can be clipped on or mounted in different ways depending on other changes, like new indicators. The original gauge cluster is swapped for a black, slim speedometer with LED lighting and a digital display, making it easier to read and more modern.
- Small, round mirrors for a fresh look
- Compact black speedometer with blue LEDs and digital screen
Workshop and Workspace Details
A Look Inside the Garage
The shop area is fully set up at the back of the property. There are shelves, a fridge, welding gear, a dedicated welding table, and boxes filled with all the main parts for the project. Tools are spread out and organized for easy access. It is a comfortable space designed for working on the new custom bike.
Below is a quick layout of key workshop features:
| Area/Feature | Purpose |
|---|---|
| Welding Table | Cutting and welding new parts |
| Tool Storage | Keeping all small tools tidy |
| Fridge | Refreshments during long work sessions |
| Parts Box | Holds imported parts brought from Thailand |
| Workbench | Main area for assembly and disassembly of the bike |
Everything needed for the build is within reach and easy to find.
How Family Helped Create the Shop
The garage space came as a surprise from the speaker’s dad. When the move from Thailand happened, the speaker had been searching for other options, like a container or a small prefabricated house, but costs were too high and setup was tricky.
Instead, the dad built this dedicated space and even handed over a full set of tools. Extra shelves and details were added to make it more personal. This setup made getting started with the bike project much easier, and the support from family was a big help in making the workspace both affordable and well-equipped.
Price Breakdown and Cost Comparison
Comparing Part Costs: Thailand and South Africa
The total price for all the custom parts brought from Thailand was 5,849 Baht, which equals 3,288 Rand or 175 USD. This included multiple items like brake lights, handle grips, exhaust wrap, a sleek headlight, LED indicators, speedometer, fuel gauge, and mirrors.
If these same parts were bought in South Africa, the price would be about 8,000 Rand or 424 USD. That means buying parts locally would cost more than twice as much.
| Source | Local Currency | Rand | USD |
|---|---|---|---|
| Thailand | 5,849 Baht | 3,288 | 175 |
| South Africa | ~8,000 Rand | 8,000 | 424 |
Parts from Thailand saved a large amount compared to local prices.
Purchase Price and Motorcycle Value
The brand new Big Boy Velocity Cargo 150cc was priced at 17,300 Rand, which is about 911 USD. For a zero-kilometer motorcycle, this is considered affordable.
A secondhand bike was first considered, but there were few good options and more risk for extra repair costs. Buying it new helped avoid problems so the project could start with a reliable bike.
Getting Ready: Preparation and Taking Apart the Bike
Quick Wash and Prep
Before taking anything apart, the bike gets a good pressure wash to clear away any dust and dirt. It’s best to work on clean parts so nothing gets scratched or damaged later. A clean surface also helps spot any issues while working.
Step-by-Step Breakdown
The disassembly starts at the back of the bike and moves toward the front. The process begins by removing bolts one at a time, keeping track of where each came from. A socket set is used for most of the bolts, and it’s helpful to keep parts organized as they come off.
Tip:
- Place bolts and parts in labeled containers or bags as you remove them.
- Use a table or tray to lay out everything in order.
Simple Disassembly Process:
- Find and loosen the first bolt at the back.
- Remove the bolt and set it aside safely.
- Repeat the process for the next bolt on the opposite side.
- Continue moving forward, taking out bolts and parts in order.
Working methodically like this makes it easier to put everything back together later—or to move forward with the custom build without losing pieces.