Restoring old bikes is more than just a hobby as a Cafe Racer. For many, it’s a way to learn new skills, take on creative challenges, and build something truly unique. Each project offers a chance to try different techniques and bring new life to forgotten machines.
This article follows one person’s journey as they bring a rusty 1981 Yamaha XJ650 back to life. The process includes fixing mechanical issues, adding custom parts, and making bold design choices. Through hard work, patience, and help from others, this build shows how rewarding it can be to see an idea turn into reality.
Key Takeaways
- Restoring old bikes is a chance to build skills and try new ideas.
- Custom work and attention to detail make each project special.
- Finishing a bike takes patience, teamwork, and dedication.
Why Restoring Old Bikes Feels Rewarding
Picking Up Useful Abilities
Restoring old bikes gives people the chance to learn by doing. Each step, like taking apart the engine or fixing the frame, teaches something new. They might try things they never thought they could do, such as using 3D printing or welding new pieces onto the bike. Mistakes do happen, but trying again helps them get better over time.
Here’s a short list of what they might learn:
- Using new tools like CNC machines
- Learning about 3D modeling and printing
- Understanding how to install and wire electrical parts
Pro Tip: Even if something seems hard at first, practice makes it easier.
Letting Imagination Lead the Way
Restoring is not just about repairs; it’s about creating something special. Builders often try out bold ideas, like fitting a thick rear wheel or adding a unique twin headlight. There is no single “right” way — every project can be different.
| Creative Choices | Example |
|---|---|
| Custom Paint | Mixing new colors for the body |
| Unique Parts | 3D printed exhaust tips |
| Custom Design | Handmade seat or tailights |
Builders enjoy watching their ideas become real. Every small detail, like new nuts or a clean frame, adds up and makes the bike truly their own.
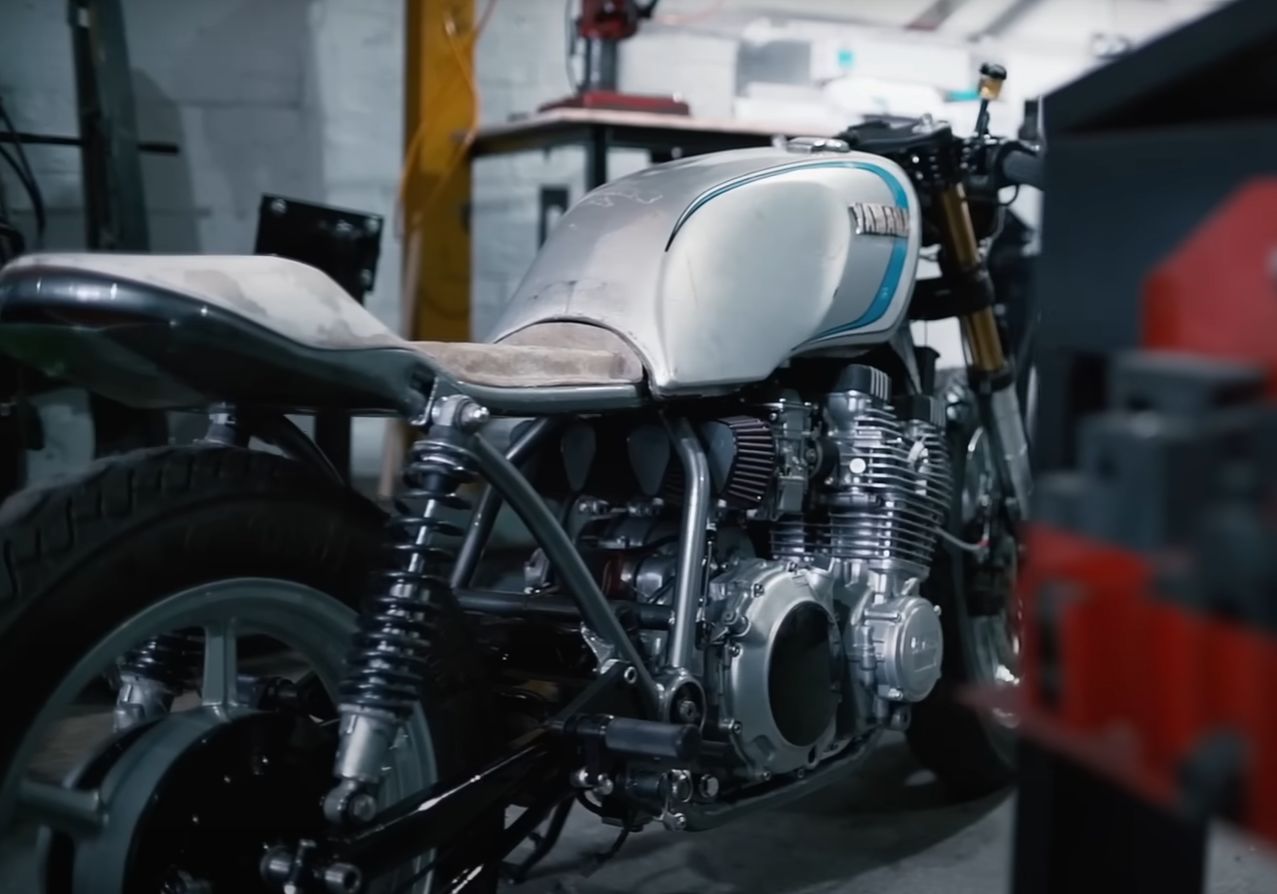
Project Overview: 1981 Yamaha XJ650
Main Goals for the Yamaha Build
The plan for this bike is to create a modern classic. The owner wants it to keep its old-school style but use new building methods. This includes making custom parts, like CNC bump stops and 3D printed metal tips, to give the bike a fresh look.
There is a strong focus on learning new skills during the process. Building this bike means trying things that have never been done before by the builder. The project is about enjoying the journey, picking up new knowledge, and building something unique with personal touches.
Key Build Targets:
- Keep the retro look
- Use new techniques and tools
- Make custom pieces for different parts
- Add special touches, like a chunky rear wheel and unique headlights
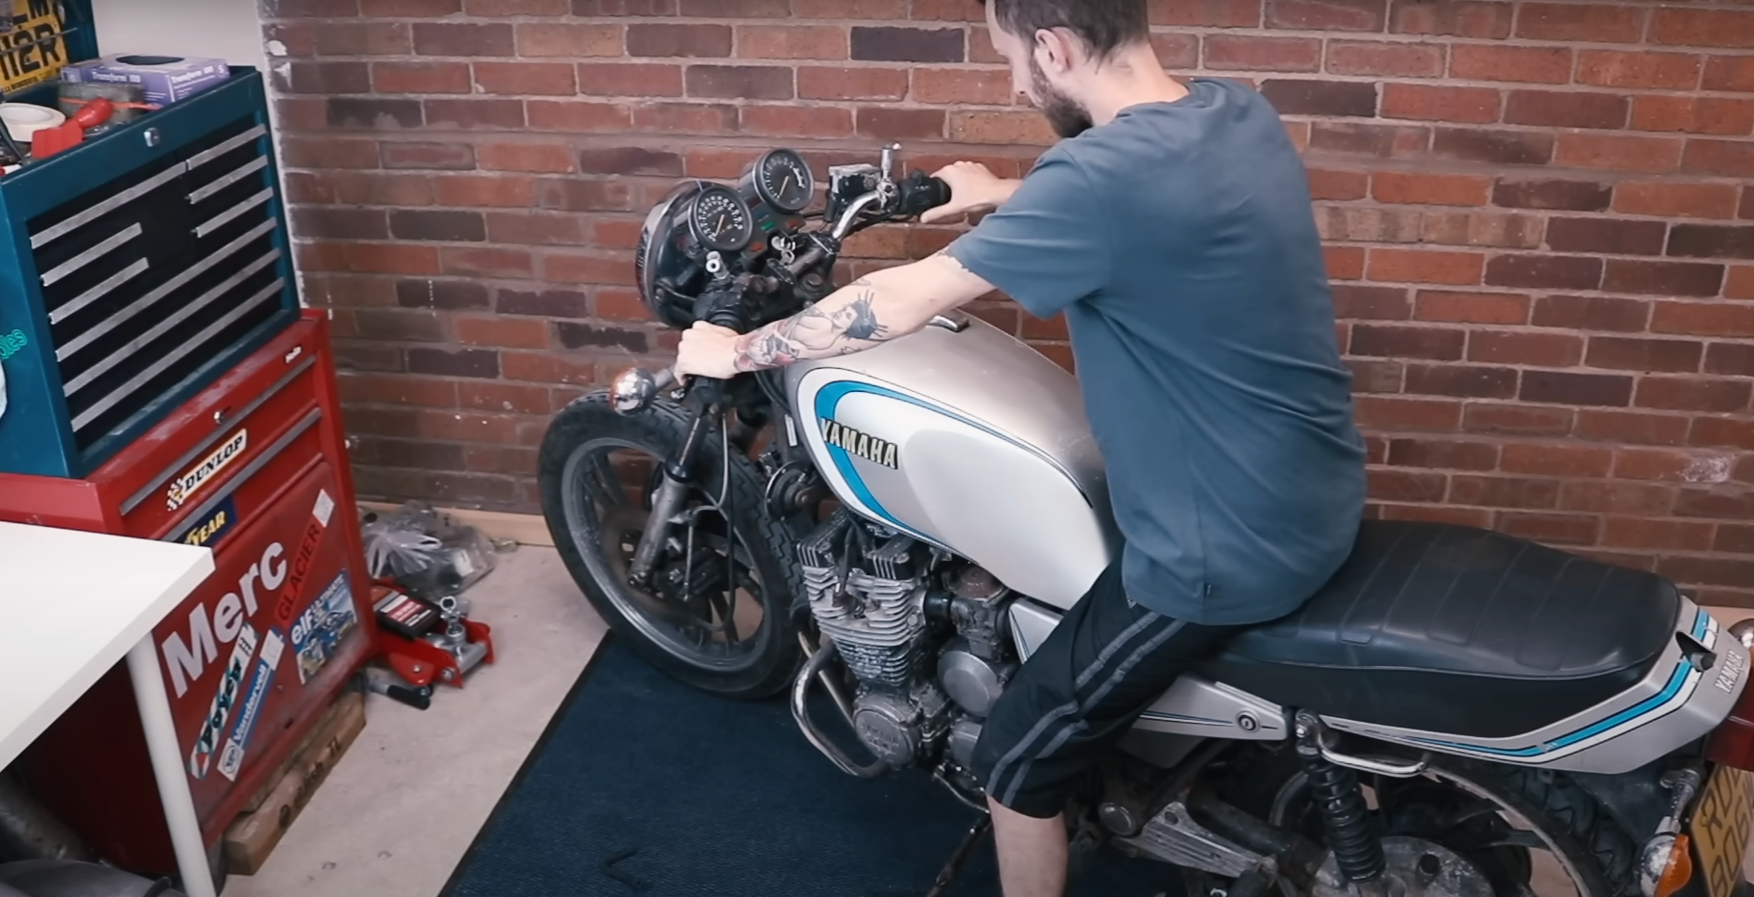
Facing Rust and Hard Work from the Start
This 1981 Yamaha XJ650 started out in rough shape, with a lot of rust. Getting the bike running was the first tough step. The work included adding new filters and fluids to make sure the engine could run smoothly.
Most of the tasks, like chopping the rear end and welding on new parts, were new to the owner. There was a lot of trial and error. Fixing the bike took over two and a half years, and every stage—cleaning the engine, sorting the powder coating, doing the wiring—had its own problems.
Tasks That Needed Extra Effort:
| Step | Challenge |
|---|---|
| Restoring the frame | Heavy rust |
| Custom parts fabrication | Learning new methods |
| Wiring the electrics | Inexperience |
| Long build time | Over 2.5 years |
Even with all the trouble, every small win and completed job made the effort worth it. The process was slow and needed a lot of patience, but seeing the old bike come together was very rewarding.
Getting the Bike Ready to Start
Swapping Filters and Fluids
The first step was to change out all the old filters and fluids. They put in a fresh oil filter and new oil. The air filter was dirty, so it got replaced too. Coolant and brake fluid were both swapped with clean, new fluids. This helps the engine and other parts work better and last longer.
A quick checklist for these steps:
- Change oil and oil filter
- Replace air filter
- Fill with fresh coolant
- Add fresh brake fluid
These small steps made a big difference for getting the bike ready to run.
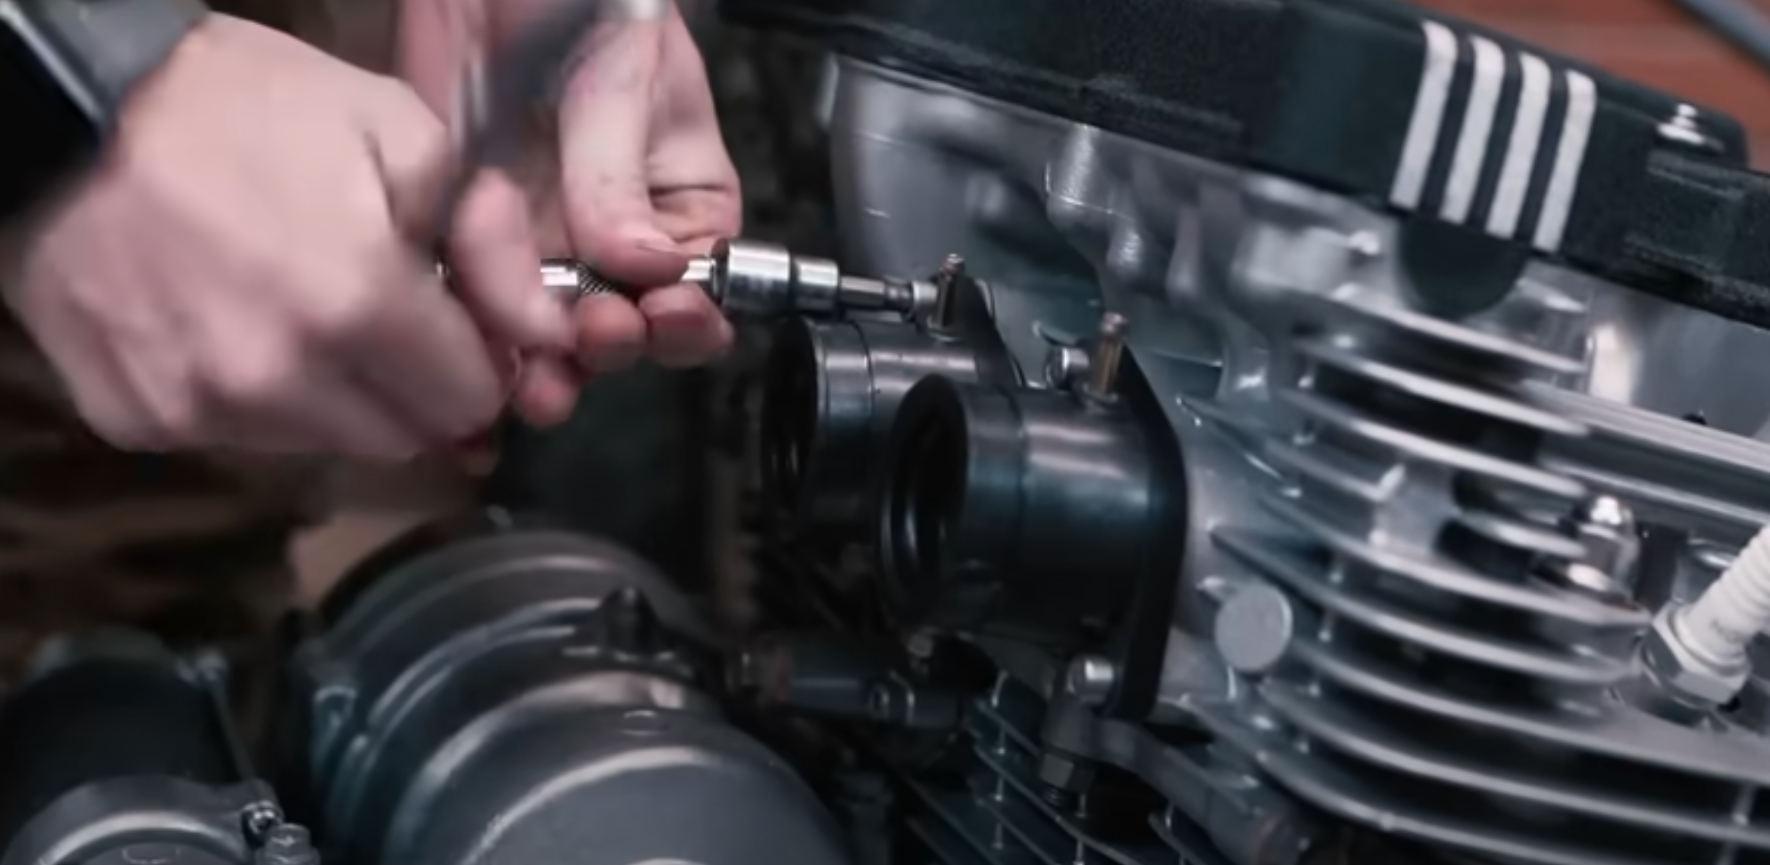
Testing the Engine for the First Time
After changing out the fluids and filters, it was time to see if the engine would start. The engine fired up and ran well. Even though it still needs a tune-up, it worked even after sitting for a long time. Hearing the engine run again was a big moment in the build. It meant the bike was on its way back to the road.
Note: The engine will need some fine-tuning, but getting it started was a good sign. Seeing the bike come back together brought a lot of excitement to the project.
Unique Parts and Upgrades
Machine-Made Metal Features
To get the right fit and shape, many of the metal parts on the bike were made with CNC machines. These parts include things like bump stops and other small components. The use of CNC lets builders make pieces that are both strong and look great. Each part is measured and cut to fit, helping the bike feel fresh while keeping some of its old-school charm.
Custom CNC Highlights:
- Precision bump stops
- Hand-finished brackets
- Unique fit for each part
3D Metal Printed Tailpipe Ends
Instead of using standard exhaust tips, the builder created one-of-a-kind metal tips with a 3D printer. This method lets them try out shapes and styles that would be hard to make by hand. The metal tips add a special touch to the ride and give the back of the bike a modern feel.
Why 3D Prints Stand Out:
- Unique shapes possible
- Clean finish on each piece
- Tough, metal design
| Feature | Standard Tips | 3D Printed Tips |
|---|---|---|
| Custom Shapes | Limited | Many Options |
| Manufacturing Speed | Slow | Fast |
| Overall Appearance | Plain | Modern |
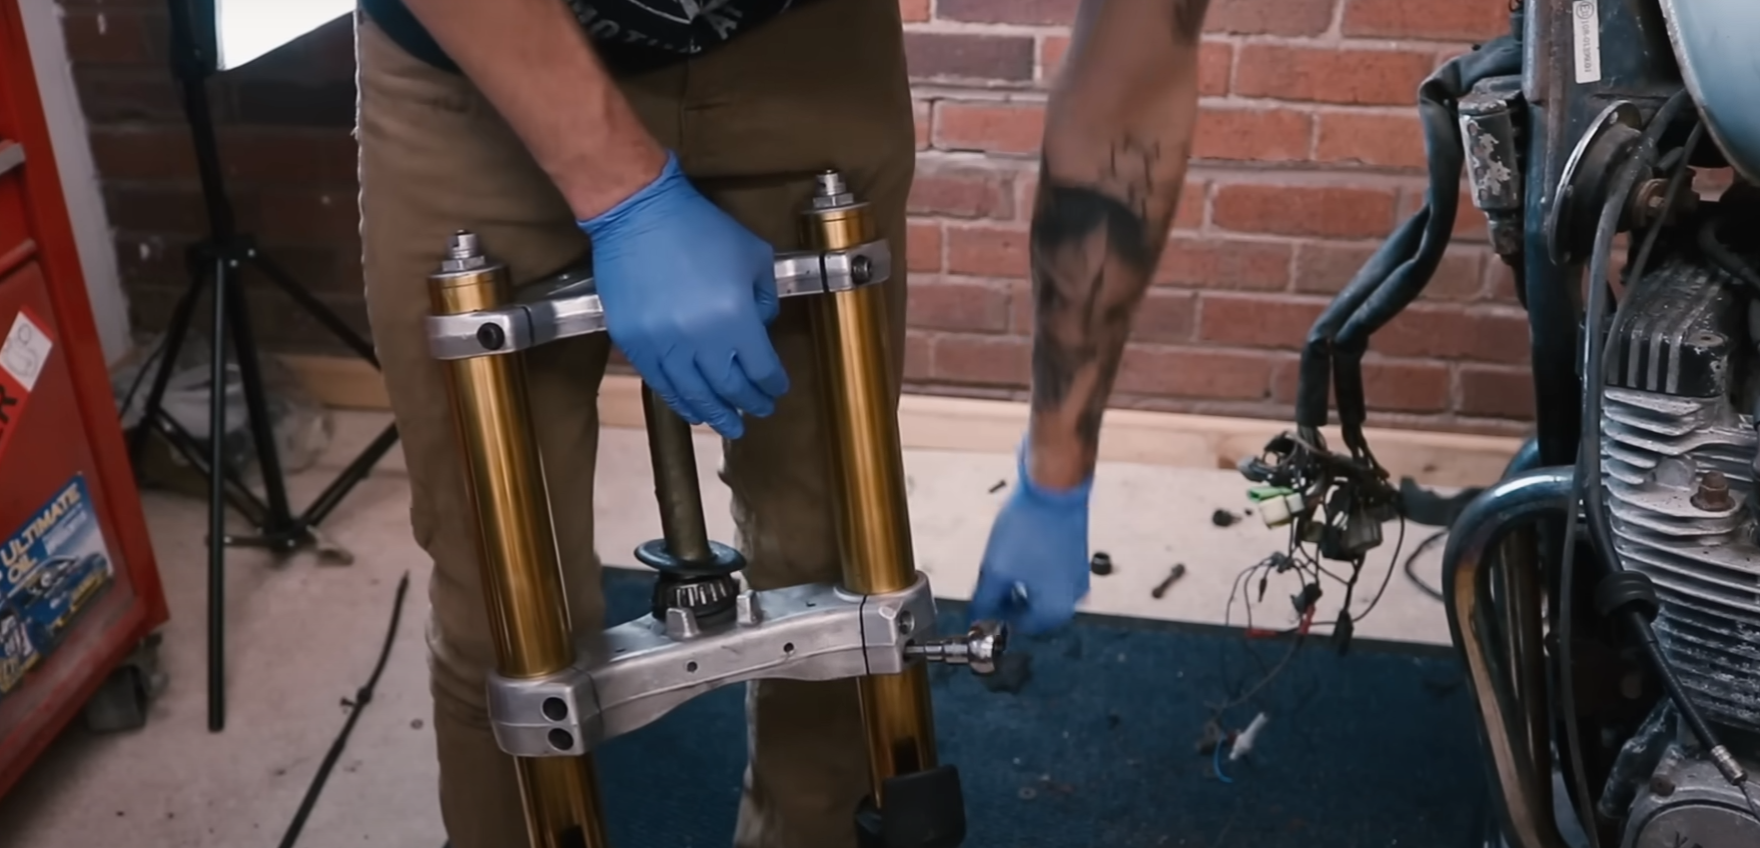
New Wheels Front and Back
A big part of the build was upgrading both the front and rear wheels. The front end was improved first, and the back wheel was made wider to match. This helps the bike look balanced and sturdy. Each wheel was chosen to give the ride a fresh look, while still fitting the rest of the classic design.
- Wider rear wheel for more grip
- Chunky tires for a bold look
- Matching styles on both ends
Frame and Structure Changes
Cutting and Welding the Back End
The old frame had to be changed, so the back part was cut off. A new curved piece was made and welded in its place. This was the first time doing some of these steps, but it turned out much better than expected.
Mistakes happened along the way, but trying again helped get it right. The hard work paid off and looked good once finished. Custom parts and choices made this part of the build unique.
Coating the Frame with Powder
After the frame was welded and all the extra brackets were removed, it was ready for powder coating. This process gave the frame a strong, clean finish in the base color. Seeing the frame come back with a fresh look felt exciting.
Powder coating made it ready for the next steps in putting the bike back together. The clean frame also made the engine and other parts look better once installed.
Standout Build Features
Tail Light Ideas from Acrylic
The builder tried something new with the tail light on this bike. Instead of using a normal style, they used ideas from other builders, like those at Auto Fabrica. They made an acrylic tail light, but made it in their own way.
This process was something they hadn’t done before. They worked hard to get it right. When it was finished, the tail light looked even better than expected.
- Original process: Inspired by top builders, but designed their own
- Material used: Acrylic
- Method: Trial and error until it worked
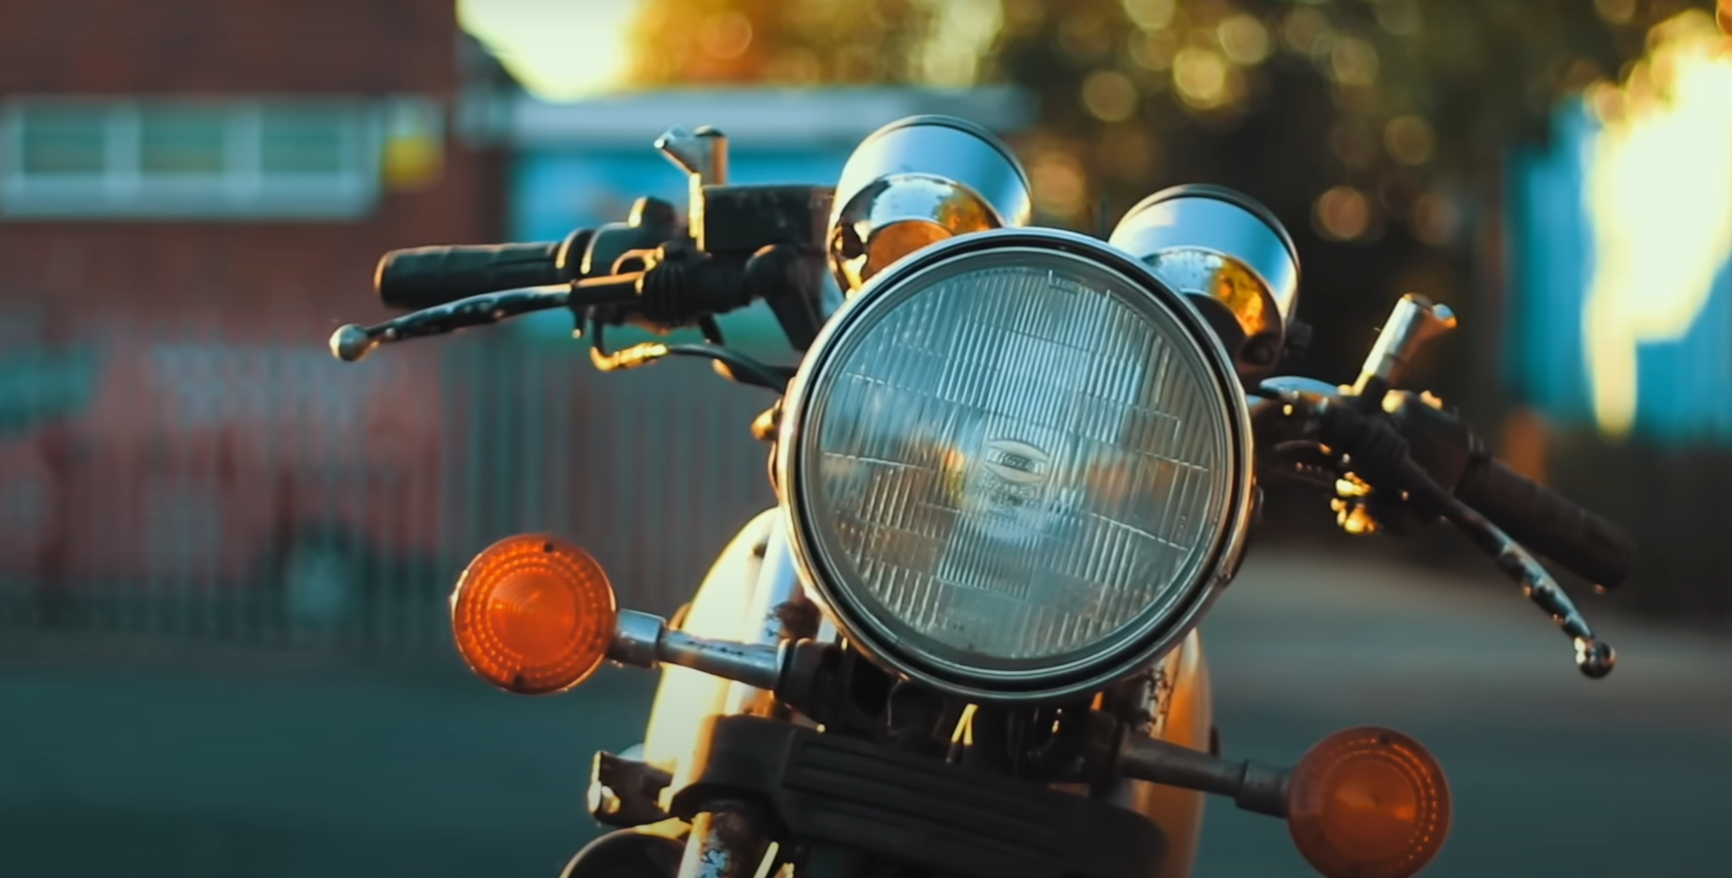
Double Block-Style Headlights
They also wanted the front to be special. Instead of a single headlight, they chose to use two boxy headlights.
It took extra work, but the builder liked how different it looked. Even if some people do not like the style, it’s clear that a lot of effort went into making it stand out.
- Type: Twin square headlights
- Reason: To try something few others do
- Result: A bold, unusual look for the front of the bike
Detailing and Putting It All Together
Small Parts and Hardware
Paying close attention to each nut, bolt, and tiny piece is key during this part of the project. Every screw and fastener added makes a big difference in how the bike looks and works. This step takes time, but making sure everything fits right is what separates a good build from a great one.
Here’s a simple checklist they followed:
- Sorted all hardware by size and type
- Checked each part for rust or damage
- Cleaned or replaced old nuts and bolts
- Tightened everything carefully to avoid stripping
| Part | Checked? | Cleaned? | Replaced? |
|---|---|---|---|
| Engine Bolts | ✓ | ✓ | ✓ |
| Frame Fasteners | ✓ | ✓ | x |
| Headlight Mounts | ✓ | ✓ | x |
| Rear Wheel Nuts | ✓ | ✓ | ✓ |
Focusing on these details helps the bike not just look better but also stay strong and safe for riding.
Teamwork and Thanks
No one builds a custom bike completely alone. Many different people helped at different times, giving support, sharing advice, or pitching in with tasks. Their help kept the project moving, even when things got tough or took a long time.
The builder made sure to thank everyone who helped out. Their names and work are shared on social media, giving them credit for their part in the project. Each person made a difference, and the bike would not look the same without their help.
This kind of teamwork shows how much a build like this depends on shared skills and effort. Everyone’s hard work helped bring the finished bike together.
Wiring System Improvements
Setting Up the Main Control Box
The builder chose to use the M Unit for the electrical system. This part is known for how simple it makes wiring, even for people who do not enjoy this part of building bikes. The bike had been in pieces for a long time, so it was a big moment to get the wiring sorted out.
Key changes:
- The old wiring was replaced
- The new M Unit made connecting everything easier
- The system is cleaner and less crowded
This made the job much less stressful and helped keep the build neat and organized.
Adjustments and Starting for the First Time
After setting up the wiring, the bike was ready to start. It needed some basic tuning and a first check to see if everything was working right. The builder was excited to hear the engine run again after all the updates.
Tasks completed:
- Making sure all wires were connected correctly
- Checking the controls to confirm they worked
- Listening to the engine and making small adjustments
A table of checks:
| Task | Status |
|---|---|
| Wiring complete | Yes |
| Engine runs | Yes |
| All controls tested | Yes |
Getting the tuning right was important to make sure the bike would run smoothly when it was time to ride.
Final Details
Building the Seat and Adding Upholstery
The custom seat base is built to match the style of the bike. Once the base is finished, it goes to a professional upholsterer. Here, they cover the seat with new material for a clean, smooth look. This step gives the seat both comfort and a finished style.
Seat Details:
- Custom-shaped base
- Sent to upholsterer
- Covered in new material for comfort
Shaping the Body and Applying Color
After the main build, work turns to the body panels. They are shaped and made ready for painting. The paint is mixed to get just the right color. Once sprayed on, it brings the project together. Bright, fresh paint gives the bike a new, finished look.
Steps:
- Shape the body panels
- Prep the surface
- Mix and spray paint
- Let it dry and rebuild the bike
A well-done paint job makes everything look fresh and helps protect the bike for the miles ahead.
Wrapping Up and Moving Forward
Building a custom bike means learning every step of the way. Each new skill opens up different ways to shape and fix every part. Mistakes happen, but so does improvement. Even if something takes a few tries, it is all part of the process.
Next steps in the build:
- Clean up the smaller parts and check all the wiring.
- Send the seat base out for upholstery.
- Finish the body work and get the paint done.
- Put everything back together for the final time.
- Tune the engine before the first ride.
It takes a team to make a project like this work. Every person involved has helped make each detail better. The excitement grows as the bike nears its first test ride. Updates and more steps will be shared soon.